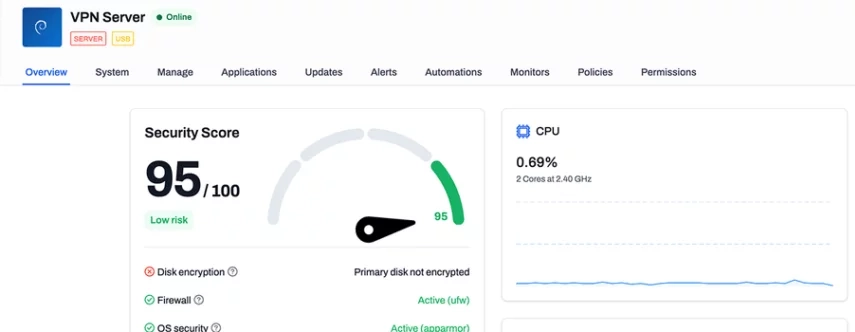
NetBird’s web-based Control Center handles the basics well: add peers, create groups, define policies. But if you’re managing more than a handful of devices, clicking through a web UI for every change gets old fast. That’s where NetBird’s CLI and REST API change the game.
The CLI gives you direct control from the terminal. The API lets you integrate NetBird into your scripts, your CI/CD pipelines, your PSA tools, or whatever automation you’re running. Between the two, every action you can perform in the Control Center is available programmatically.
This guide covers the commands and API calls you’ll use most often, with practical examples for IT teams and MSPs.
The NetBird CLI: Quick Reference
The NetBird CLI has two layers. The agent CLI (netbird) manages the local agent on each device. The management CLI interacts with the NetBird management server to control your network configuration.
Agent Commands (Local Device)
These run on any device with the NetBird agent installed.
Connect and check status:
# Start the NetBird agent and connect to your network
netbird up
# Check connection status, peers, and routes
netbird status
# Detailed status with peer connection info
netbird status --detail
# Disconnect
netbird down
The status command is your diagnostic workhorse. It shows your peer list, connection quality (direct or relayed), and which routes are active. When a technician reports they can’t reach a server, netbird status --detail is the first thing to check.
Example output:
Peers detail:
  file-server-01:
    NetBird IP: 100.64.0.5
    Public key: abc123...
    Status: Connected
    -- Loss:          0.00%
    -- Latency:       12.5ms
    Connection type: P2P
    Direct: true
    Routes: 10.0.1.0/24
This tells you the connection is peer-to-peer (not relayed), latency is 12.5ms, and the peer is advertising the 10.0.1.0/24 subnet route.
SSH through NetBird:
# SSH to a peer using its NetBird hostname
ssh user@file-server-01
# Or by NetBird IP
ssh user@100.64.0.5
NetBird handles the key exchange and NAT traversal. No SSH key distribution, no port forwarding, no firewall rules. If the peer is in your policy, you can reach it.
Manage routes locally:
# Show active routes through the mesh
netbird routes list
Management API: Peers
The REST API requires an API token. Generate one from the Control Center under Settings > Access Tokens, or through your identity provider’s machine-to-machine authentication.
Authentication:
# Set your API token
export NB_API_TOKEN="your-api-token-here"
export NB_API_URL="https://api.netbird.io"  # or your self-hosted URL
# All API calls use this header
# -H "Authorization: Token $NB_API_TOKEN"
List all peers:
curl -s -H "Authorization: Token $NB_API_TOKEN" \
  "$NB_API_URL/api/peers" | jq '.[] | {name, ip, connected, os}'
This returns every device in your network with its name, NetBird IP, connection status, and operating system. For MSPs managing dozens of client devices, pipe this through jq to filter by group or connection state.
Get a specific peer:
curl -s -H "Authorization: Token $NB_API_TOKEN" \
  "$NB_API_URL/api/peers/PEER_ID" | jq
Remove a peer:
curl -X DELETE -H "Authorization: Token $NB_API_TOKEN" \
  "$NB_API_URL/api/peers/PEER_ID"
Use this when decommissioning a server or revoking a device. The peer loses network access immediately.
Management API: Groups
Groups are how NetBird organizes access. Every policy references groups — source groups (who) and destination groups (what they can reach).
List groups:
curl -s -H "Authorization: Token $NB_API_TOKEN" \
  "$NB_API_URL/api/groups" | jq '.[] | {name, id, peers_count: (.peers | length)}'
Create a group:
curl -X POST -H "Authorization: Token $NB_API_TOKEN" \
  -H "Content-Type: application/json" \
  -d '{"name": "client-acme-servers"}' \
  "$NB_API_URL/api/groups"
Add a peer to a group:
curl -X PUT -H "Authorization: Token $NB_API_TOKEN" \
-H "Content-Type: application/json" \
-d '{"name": "client-acme-servers", "peers": ["PEER_ID_1", "PEER_ID_2"]}' \
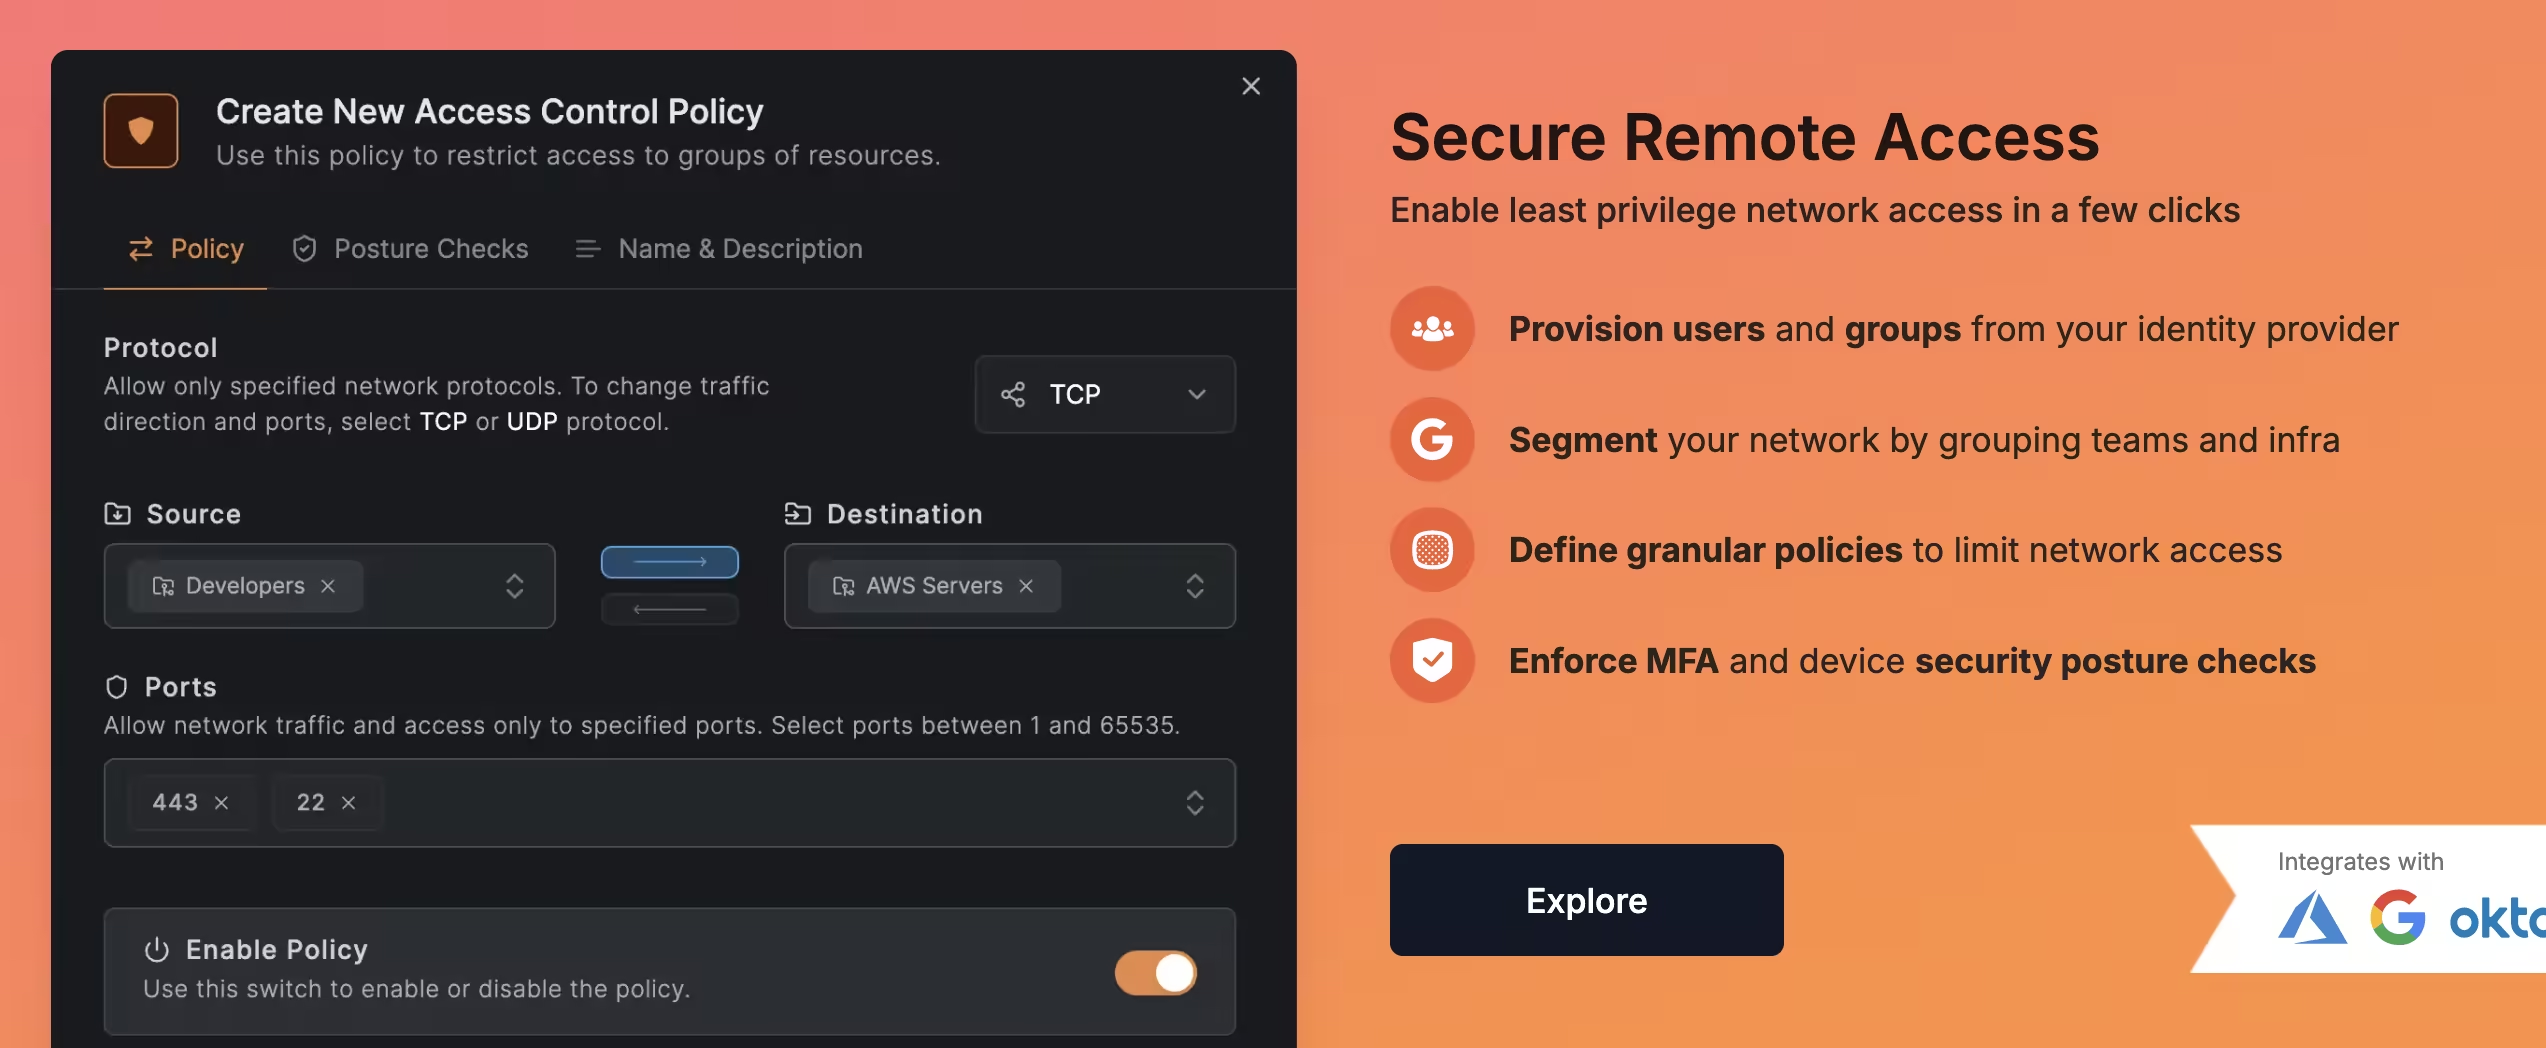
"$NB_API_URL/api/groups/GROUP_ID"Management API: Access Policies
Policies define who can reach what. Each policy has source groups, destination groups, and port/protocol rules.
List policies:
curl -s -H "Authorization: Token $NB_API_TOKEN" \
  "$NB_API_URL/api/policies" | jq '.[] | {name, enabled}'
Create a policy:
curl -X POST -H "Authorization: Token $NB_API_TOKEN" \
  -H "Content-Type: application/json" \
  -d '{
    "name": "Engineers to Production Servers",
    "enabled": true,
    "rules": [{
      "name": "SSH and HTTPS access",
      "enabled": true,
      "sources": ["GROUP_ID_engineers"],
      "destinations": ["GROUP_ID_prod_servers"],
      "bidirectional": true,
      "protocol": "tcp",
      "ports": ["22", "443"]
    }]
  }' \
  "$NB_API_URL/api/policies"
This creates a policy that lets engineers reach production servers on SSH (22) and HTTPS (443) only. No other ports. No access to other server groups. Zero trust in action.
Management API: Setup Keys
Setup keys automate device registration. Instead of manually approving each device, generate a reusable key that auto-registers devices into the right group.
Create a setup key:
curl -X POST -H "Authorization: Token $NB_API_TOKEN" \
  -H "Content-Type: application/json" \
  -d '{
    "name": "client-acme-deploy",
    "type": "reusable",
    "expires_in": 86400,
    "auto_groups": ["GROUP_ID_client_acme"],
    "usage_limit": 10
  }' \
  "$NB_API_URL/api/setup-keys"
This key auto-assigns devices to the client-acme group on registration. Set usage_limit to prevent unlimited device registration. Set expires_in (seconds) to auto-expire the key.
Use the key on a new device:
netbird up --setup-key YOUR_SETUP_KEYThe device registers, joins the right group, and inherits the group’s access policies. No manual approval, no Control Center clicks.
Management API: Routes
Network routes let a NetBird peer act as a gateway to a subnet. This is how you give your mesh access to resources on a traditional LAN without installing NetBird on every device.
List routes:
curl -s -H "Authorization: Token $NB_API_TOKEN" \
  "$NB_API_URL/api/routes" | jq '.[] | {network, enabled, peer}'
Create a route:
curl -X POST -H "Authorization: Token $NB_API_TOKEN" \
  -H "Content-Type: application/json" \
  -d '{
    "description": "Client ACME office LAN",
    "network": "192.168.1.0/24",
    "network_id": "acme-office",
    "peer": "GATEWAY_PEER_ID",
    "enabled": true,
    "masquerade": true,
    "metric": 9999,
    "groups": ["GROUP_ID_acme_techs"]
  }' \
  "$NB_API_URL/api/routes"
This makes GATEWAY_PEER_ID (a NetBird agent running on the client’s network) route traffic to their 192.168.1.0/24 subnet. Only peers in the acme_techs group can use this route.
Practical Automation Scripts
Script 1: Daily Peer Health Check
#!/bin/bash
# Check for disconnected peers and alert
DISCONNECTED=$(curl -s -H "Authorization: Token $NB_API_TOKEN" \
  "$NB_API_URL/api/peers" | jq -r '.[] | select(.connected == false) | .name')
if [ -n "$DISCONNECTED" ]; then
  echo "Disconnected peers:"
  echo "$DISCONNECTED"
  # Send to your alerting system (Slack, email, PagerDuty)
fi
Script 2: Client Onboarding
#!/bin/bash
# Onboard a new client: create group, policy, and setup key
CLIENT_NAME=$1
# Create the client group
GROUP_ID=$(curl -s -X POST -H "Authorization: Token $NB_API_TOKEN" \
  -H "Content-Type: application/json" \
  -d "{\"name\": \"client-${CLIENT_NAME}\"}" \
  "$NB_API_URL/api/groups" | jq -r '.id')
echo "Created group: client-${CLIENT_NAME} (${GROUP_ID})"
# Create a setup key for deploying agents
SETUP_KEY=$(curl -s -X POST -H "Authorization: Token $NB_API_TOKEN" \
  -H "Content-Type: application/json" \
  -d "{
    \"name\": \"${CLIENT_NAME}-deploy\",
    \"type\": \"reusable\",
    \"expires_in\": 604800,
    \"auto_groups\": [\"${GROUP_ID}\"],
    \"usage_limit\": 20
  }" \
  "$NB_API_URL/api/setup-keys" | jq -r '.key')
echo "Setup key (expires in 7 days): ${SETUP_KEY}"
echo ""
echo "Install on client devices:"
echo "  curl -fsSL https://pkgs.netbird.io/install.sh | sh"
echo "  netbird up --setup-key ${SETUP_KEY}"
Run it: ./onboard-client.sh acme
You get a setup key and install commands ready to paste. Deploy the NetBird agent on the client’s servers, and they auto-register into the right group.
Script 3: Technician Offboarding Audit
#!/bin/bash
# After disabling a user in SSO, verify they have no active peers
USER_EMAIL=$1
ACTIVE_PEERS=$(curl -s -H "Authorization: Token $NB_API_TOKEN" \
  "$NB_API_URL/api/peers" | jq -r --arg email "$USER_EMAIL" \
  '.[] | select(.user_id != null) | select(.connected == true) | .name')
if [ -n "$ACTIVE_PEERS" ]; then
  echo "WARNING: User $USER_EMAIL still has active peers:"
  echo "$ACTIVE_PEERS"
else
  echo "OK: No active peers for $USER_EMAIL"
fi
Tips for MSPs
Naming conventions matter. When you’re managing 20 clients, peer names like “server1” are useless. Use {client}-{role}-{number}: acme-fileserver-01, globex-dc-01. The API returns these names, so make them grep-friendly.
Automate setup key rotation. Don’t leave reusable setup keys active indefinitely. Script a weekly rotation: create new keys, distribute them, expire old ones.
Tag everything. Use groups not just for access policies, but for organizational visibility. Groups like client-acme, role-fileserver, os-ubuntu let you filter and audit across dimensions.
Monitor peer counts. A sudden drop in connected peers for a client might mean a network issue on their side. A sudden increase might mean unauthorized devices. Both are worth investigating.
What You Can’t Do from the CLI (Yet)
A few Control Center features don’t have API endpoints yet:
- DNS management — configure DNS settings through the Control Center
- Posture checks — device posture policies are configured in the UI
- Activity logs export — viewable in the Control Center, but bulk export via API is limited
NetBird’s API surface is actively expanding. Check docs.netbird.io for the latest endpoints.
Next Steps
If you’re new to NetBird, start with the web-based Control Center to understand the concepts. Once you’re comfortable with groups, policies, and routes, move to the CLI and API for anything repetitive.
For the networking fundamentals behind NetBird, see our guides on mesh VPN architecture and zero-trust networking. For the full VPN landscape, see our complete guide to self-hosted VPN solutions.